Tutorial 08
Set up Blender
What version to use?
Blender 4 or higher
Does not run in my machine
Blender 3
Barely runs in my machine
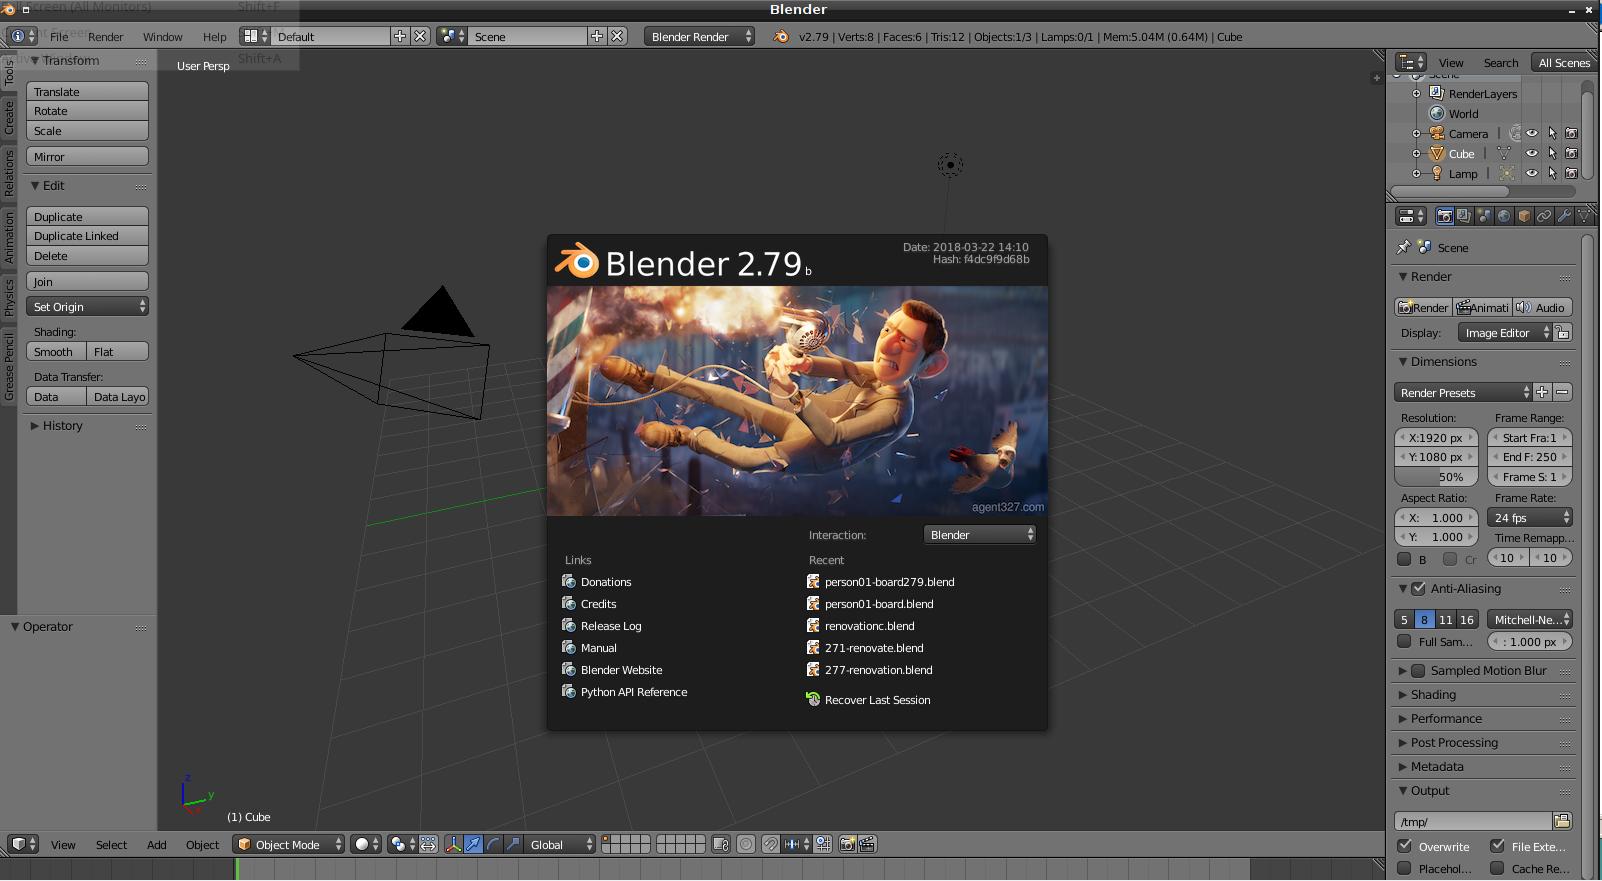
Blender 2.79 has the following minimum hardware requirements: a 64-bit operating system with glibc 2.28 or newer, a 4-core CPU with SSE4.2 support, 8 GB of RAM, and a GPU with 2 GB VRAM and OpenGL 4.3 support.
Only moves components when in wireframe, otherwise crashes
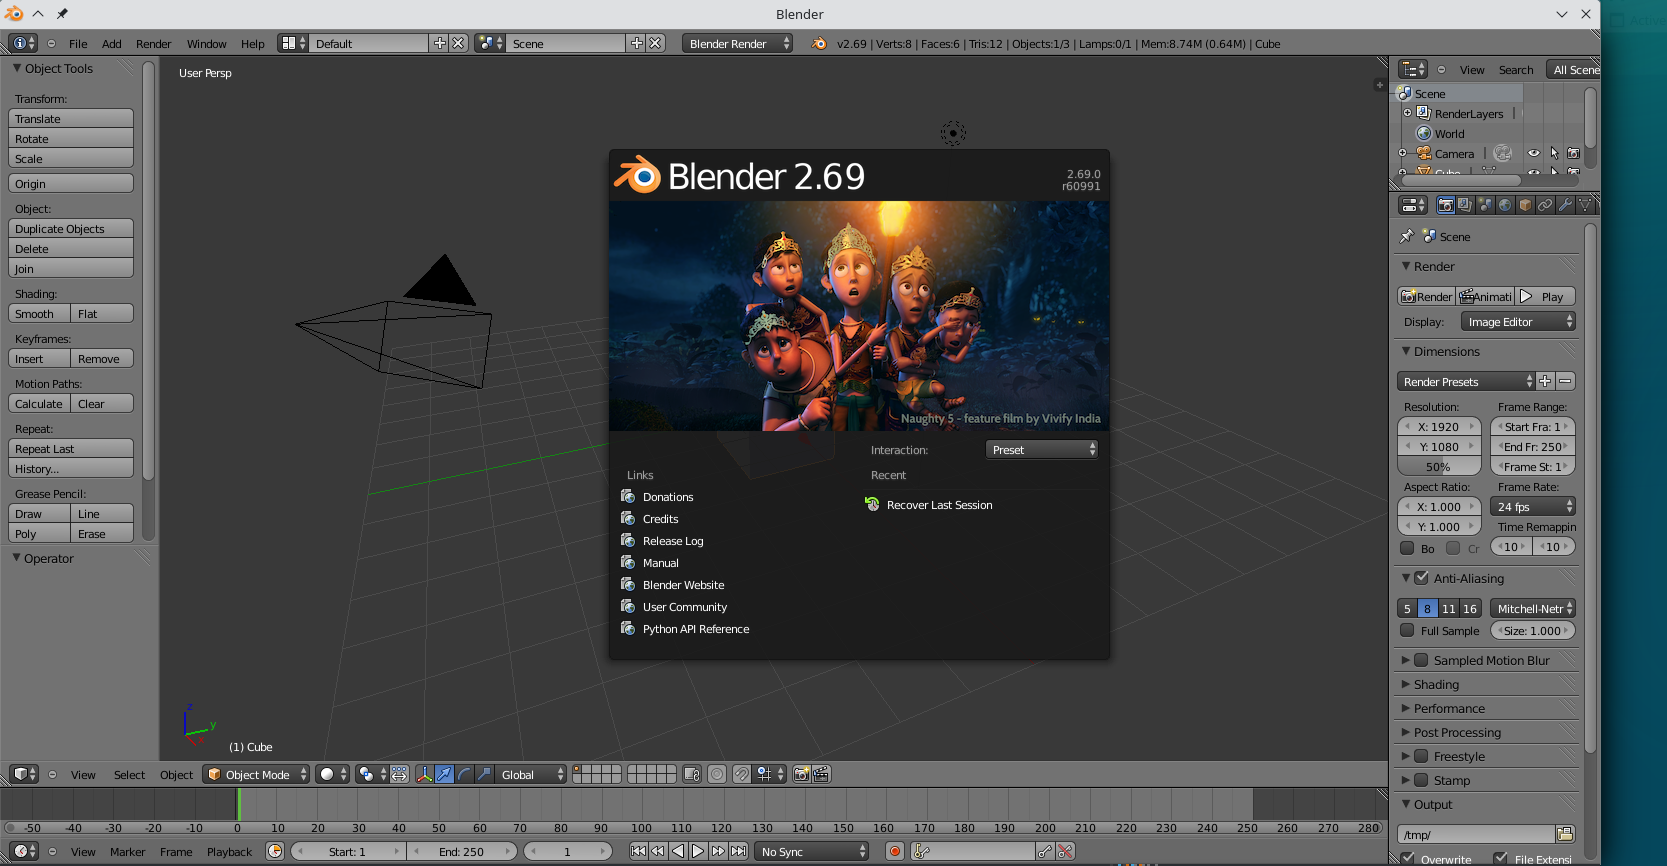
Blender 2.69 has the following minimum hardware requirements: a 64-bit dual-core CPU with SSE4.2 support, 8 GB of RAM, and a graphics card with at least 2 GB of VRAM that supports OpenGL 4.3. If your device is less than optimal, stick to Wireframe and avoid manoeuvres while in Solid or higher.
 Helpful
book for Blender:
https://en.wikibooks.org/wiki/Blender_3D:_Noob_to_Pro/
Helpful
book for Blender:
https://en.wikibooks.org/wiki/Blender_3D:_Noob_to_Pro/
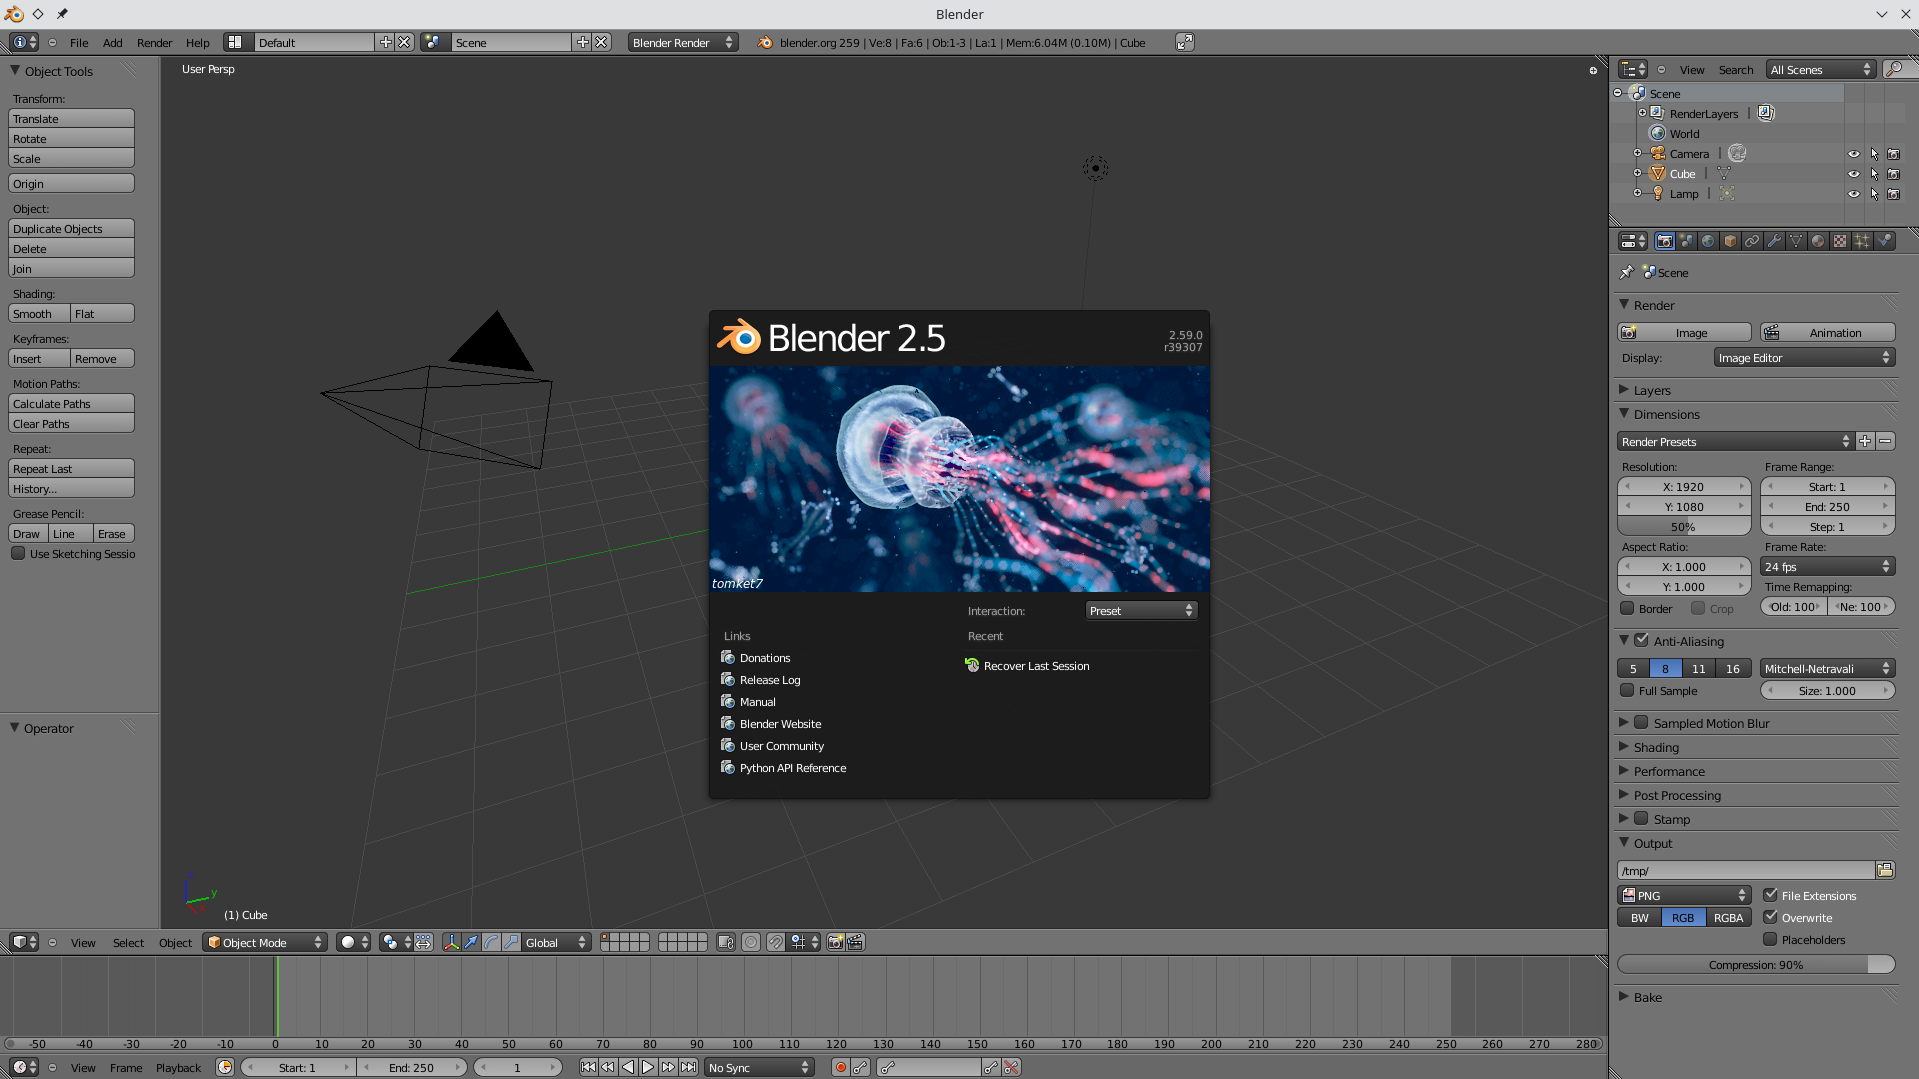
Blender 2.59 has the following minimum hardware requirements: a 3D capable graphics card with OpenGL 2.1 support, 2 GB of RAM, and a 3-button mouse. For optimal performance, a dual-core CPU with SSE4.2 support, 4 GB of RAM, and a dedicated graphics card with more than 256MB of VRAM are recommended.
Blender 2.49 had relatively modest system requirements compared to modern versions. It primarily needed a 32-bit or 64-bit operating system (Windows, Linux, or macOS), a decent CPU with SSE support, at least 512MB of RAM, and a graphics card with OpenGL support.
Blender 2.39, being a very old version, will have different system requirements than modern versions. It's likely to run on older hardware, but specific requirements are hard to find directly. Generally, for older versions, you'd be looking at: a 64-bit system, a dual-core CPU, 4GB of RAM (8GB is recommended), and a graphics card with OpenGL 2.1 support (2GB VRAM is a good idea)
This tutorial is based on Blender 2.69-64
Blender needs a three-button mouse (inside-middle-outside) as per the diagrams in Tutorial 01. It offers preset key combinations for most functions, and most of these can be edited to suit your preferences. A number of functions are supplied on the numeric keypad. Key n shows/hides a further window with object functions. The programme window must be active and the mouse cursor must be in the 3D View window for keystrokes to work on the model.
We suggest making the select button the inside button [aka left] (The default is the outside button [aka right]). The middle button rotates the model in the 3D View around its centre. After setting the inside button as select, the outside button [aka right] indicates the position of the 3D cursor. The Esc key backs out from the previous action.
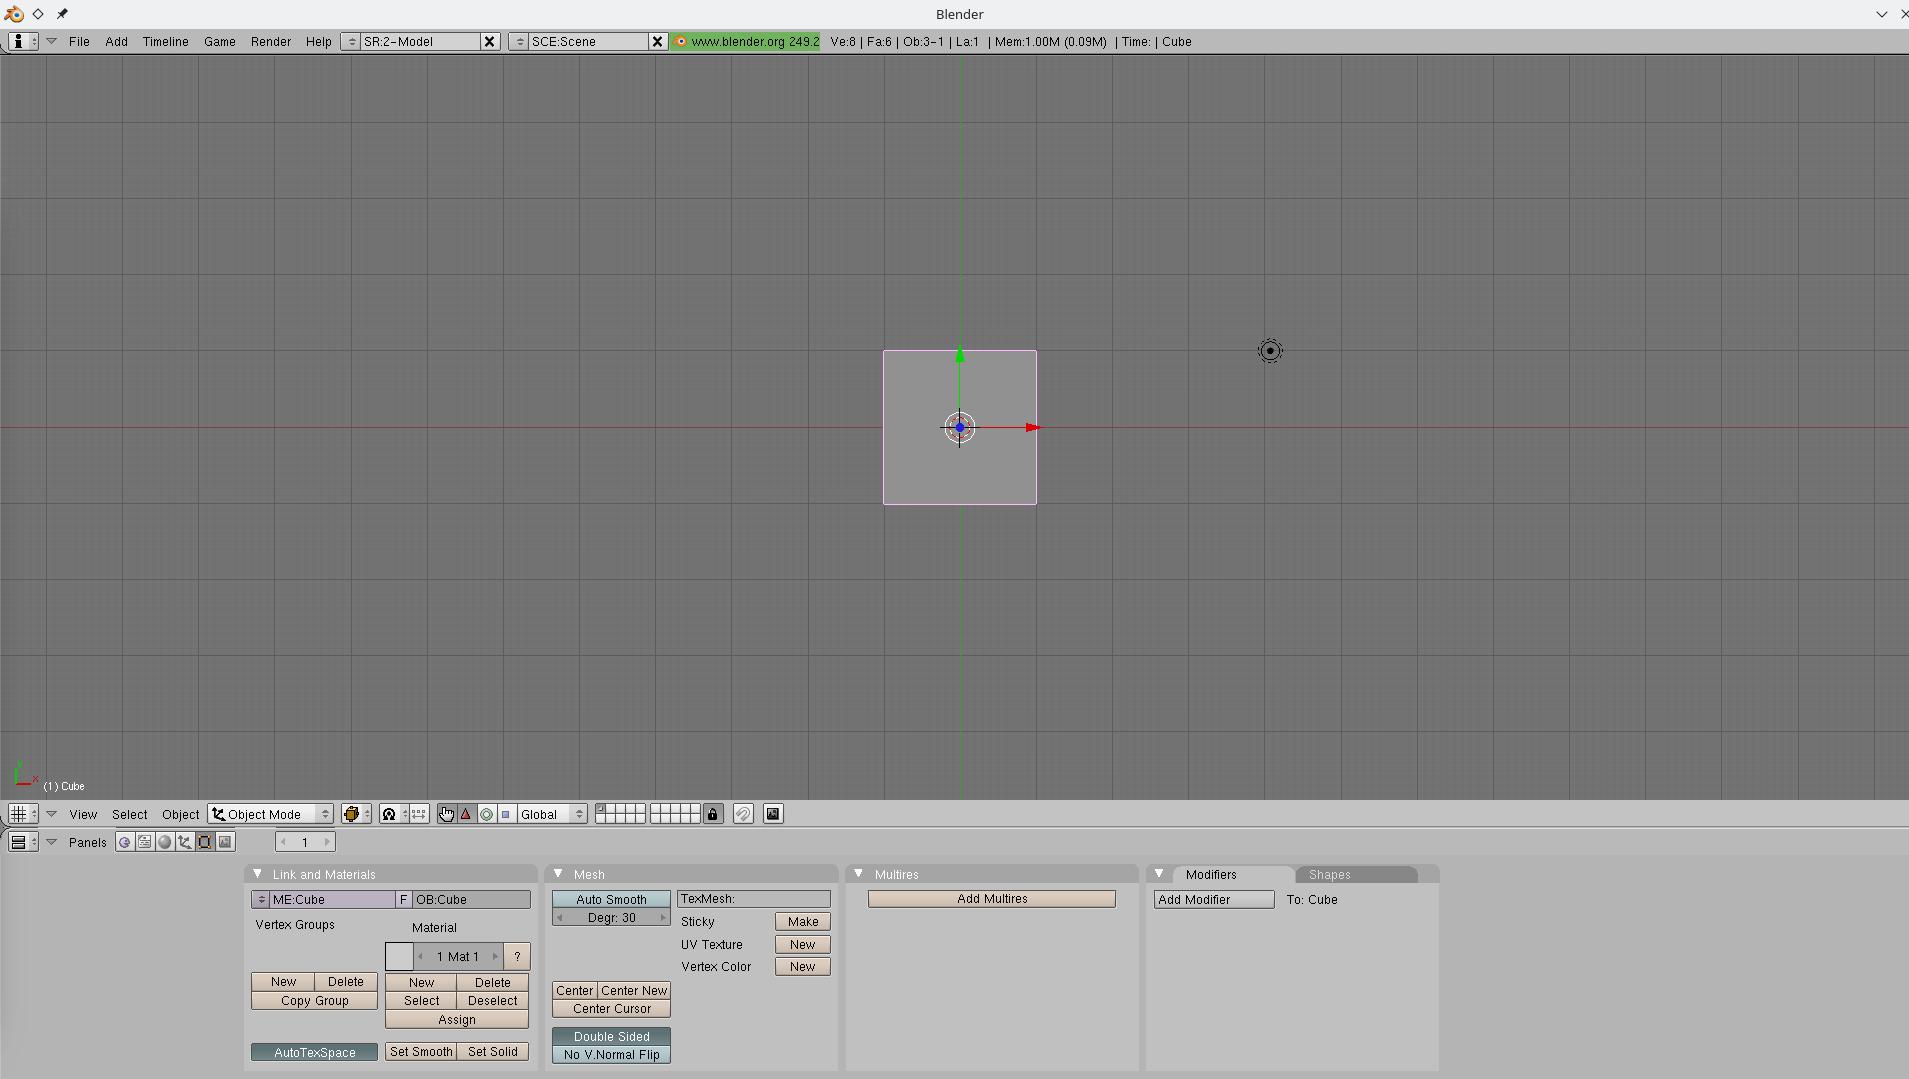
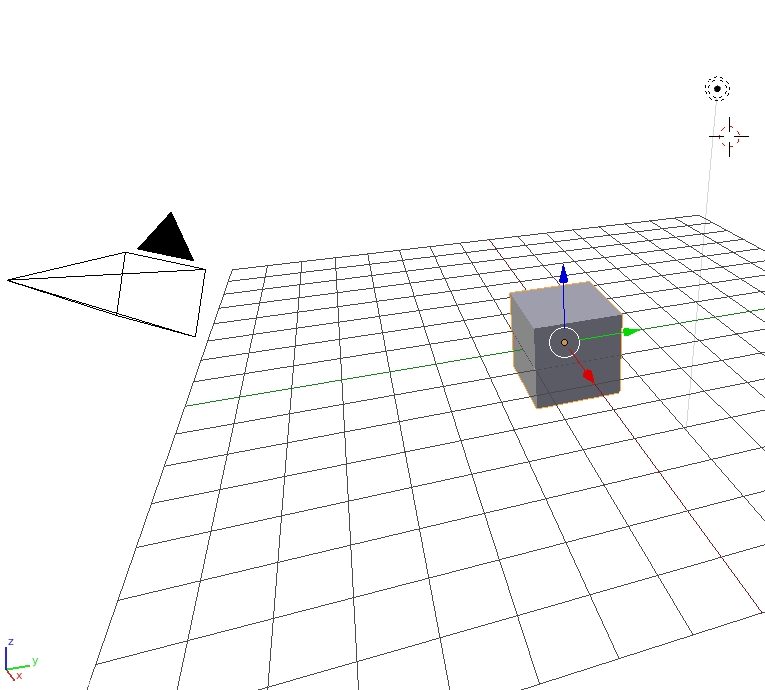
Each Blender version comes with a default start-up file. The default presents a 3D View window in the centre showing a grid in the XY plane, a cube 3D mesh, a lamp and a camera, with a grey gradient background. You can edit this and save as a new default (>File>Save Startup File) to suit your preferences. Basic editing is via the top panel which has pulldown function menus. Additional resources are placed in, the left side ***, the right side *** and the bottom panel *** with a *** window below.
Opening and saving files requires a two-step select or edit the file name near top left, and then Open or Save Blender file on the top right. There is a cluster of recently-accessed folders in the left-hand column
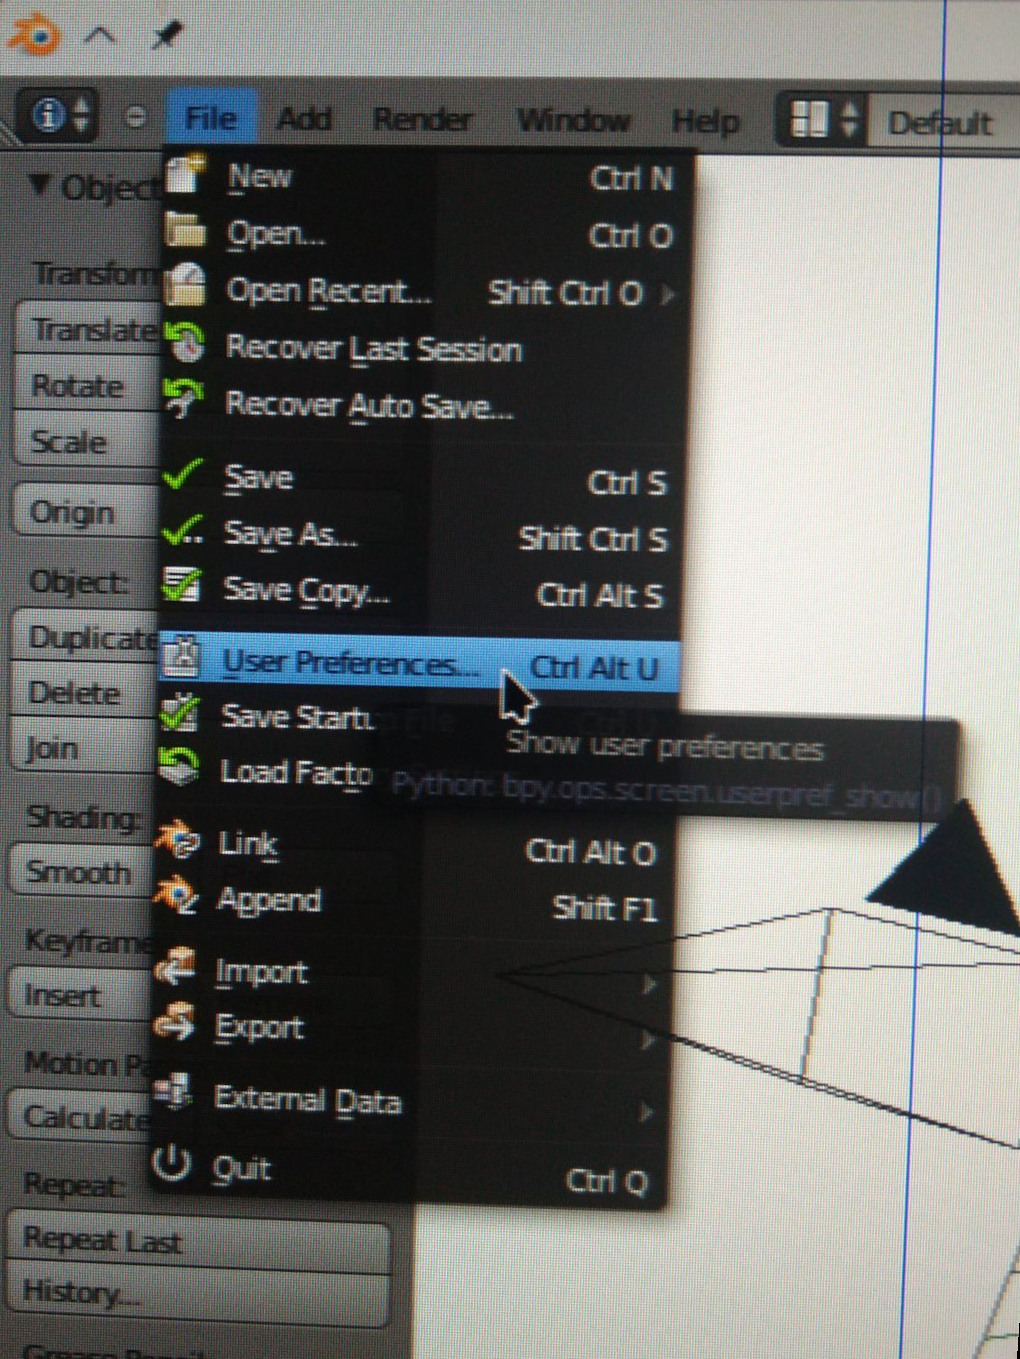
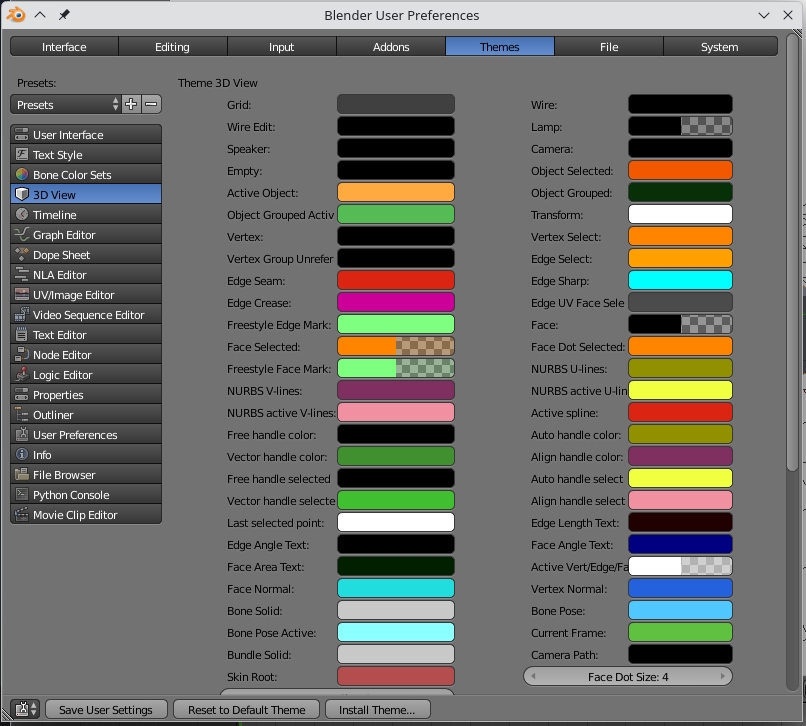
To carry out basic editing, select >File>User Preferences (at top left of default start-up file).
Editing the select button on the mouse to be inside [aka left]: >File>User Preferences>Input>Select With. Remember to Save User Settings (bottom left corner of Preferences window) when done editing.
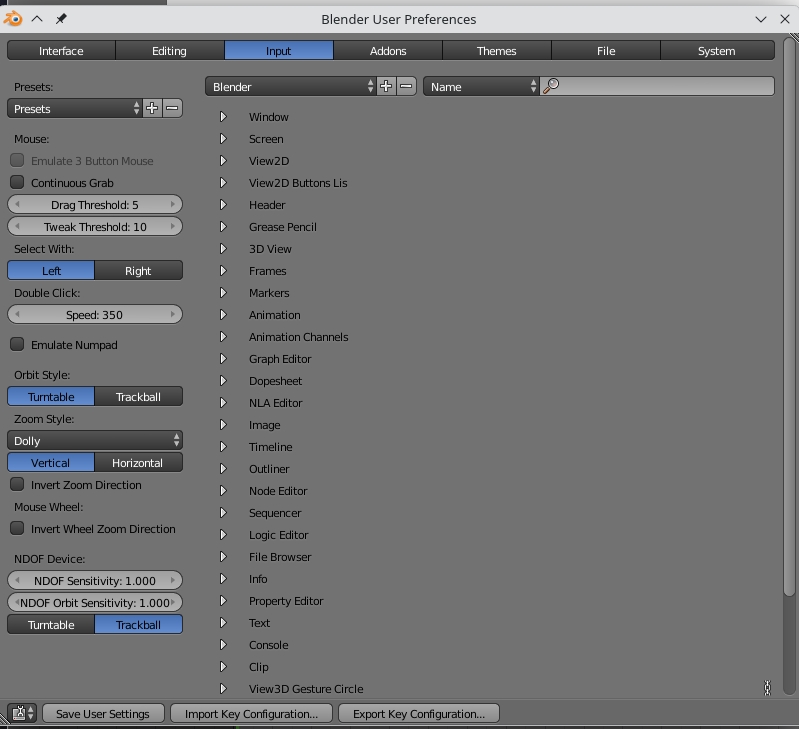
Editing >File>User Preferences>Themes>3d View>Theme Background Colour allows you to change the 3D View background to plain colour white (my preference). Remember to Save User Settings (bottom left corner of Preferences window) when done editing.
You can also select >File>Load Factory Settings to get the standard start-up.
Basic object functions:Press g for Grab-Move, R for rotate and s for Scale. There are many other sub-menu items like Shift+d for create a duplicate. To move an item to another layer, select it, press m and pick your target layer. Press a to select all objects and a again to deselect all selected objects.
With mouse cursor in the 3D View, press n to open a window with tools to allow edits of Location, Rotation, Scale and Dimensions as well as setting the position of the 3D Cursor which defines where newly added options land.
N window
3D Cursor
World sky: create a store of skies using your camera. My sky2.png
Luderitz image (with a seagull) 1015x428px at 72dpi works. One can
import the image as a texture, and place it in world. Note that it
wants >influence>horizon checked. Current versions have
infinite varieties of skies but are much more complex and
d emanding.
Lights and shadows. Lamp is the default. Sun or suns give deployable light. One can have shadows generated by a particular light and define the colour or dark/light of the shadow. One can increase or reduce the intensity of the light. When building a library, it is wise to segregate lights into a different layer to the mesh in order to avoid intrusions into the overall scene lights when importing a library item.
Camera. If the model is large in metres, it may be necessary to increase the camera range by increasing the clipping distance. For interior/close up images one can adjust the focal length. When creating library items, one might de-clutter the mesh by placing item cameras in a different layer as with lights.
Numeric keypad for views. Home gives a full view of the model. 7 gives a plan view. 1 views the Y axis. 3 views the x axis. 5 toggles perspective on and off. Other numbers give oblique views. Ctrl+0 gives the currently-selected camera view, which can be edited if wanted.
Library items. By making a group of the components, a library item can be imported suitable for moving as a single object. If the light and camera are not grouped, or are placed in a different layer, importing the group does not clutter the target model. Images can be placed on a ‘board’ and placed and rotated to suit for ie people and plants. Prefer .png to allow transparency in the display.
Scenes can be used to focus on different parts of the model, with different elements shown or exact copies of elements. They allow more control of lighting for a particular space.
With time and effort, one can make movies. One can set a track which can be edited, and then run a camera which can be set to range left and right of the track. Rendering takes time and disk space as one needs one render per frame. With much more time and effort one could introduce some animations. This tutorial does not detail these.
https://www.3dblendered.com/blender-films-and-shorts/me-a-monster-short-movie/
https://www.youtube.com/watch?time_continue=43&v=7Nui3U39MUc&embeds_referring_euri=https%3A%2F%2Fwww.3dblendered.com%2F&source_ve_path=MzY4NDIsMjg2NjY